17 Jul 2014
I explained today how you install ruby with rvm for a friend.
I thought it would be nice if I summarize this a bit.
First of all you want a ruby version manager there is rbenv or rvm and many more. But why you want this?
Simply because you never know if you want to test something in an older version or with jruby. I assume that you are running a Linux with bash as your shell.
##Enough blabla
Install rvm
\curl -sSL https://get.rvm.io | bash
Load rvm
Enable autolib
Install the lastest MRI Ruby
##Why
Why rvm and not rbev or X is much better than rvm, sure go ahead and use whatever you like (I don't care).
And what does autolib? Autolib is a new feature of rvm which install the right
native libraries for your system.
16 Jul 2014
Since I start using plex my HP ProLiant MicroServer was to slow to transcoding movies for Chromecast.
So I had primarily two options, first I transcoding them not on the fly and save them to my NAS or I buy a new NAS. Obviously I bought a new one.
So I look around an found the Dell PowerEdge T20. The Key features for was the Intel Xeon processor which has enough power to transcoding movies. The possibility that
you can extend the ram to 32GB is nice for ZFS which take advantage of that. Also nice is that the ethernet controller a Intel I217-LM is. Intel has a much better record
for building stable and supported network controller.
The downsides on my opinion are that only 4 hard drives fit in the case. And these hard drive cartridges don't look really rock-solid for me.
Hardware
I upgrade the my RAM to 20GB, for this you can checkout my other blog post about this.
For disks I use three WD Black with each 2TB space. And for my system drive I use one of my old SSD, just because I can.
For the future I plan to upgrade it with a network controller to play with things like LACP.
Noise
What should I say, in a normal office environment you can't hear it. But it has two fans so you can hear it if it's really quiet, but for the most environments this shouldn't be that
big deal. So if you searching for something quiet and powerful I can really recommend the Dell T20.
BIOS update
My BIOS version was A02. So you can simply go to the dell support site, download the BIOS .exe, copy it to your FAT formatted USB stick and select in the start menu (F12) BIOS Update.
For some reason I must unplug it to restart.
Software
I run a FreeBSD 10 on it. Maybe I extend on this a bit what software I use. But for now, It looks to me as if every part of the hardware is supported on FreeBSD by default. (I like that)
13 Jul 2014
I can confirm that Crucial Ballistix Sport (part number: BLS2CP8G3D1609DS1S00CEU)
running fine in the Dell T20. This mean I have now 20GB RAM \o/. Yeah you can mix ECC RAM with RAM that doesn't support ECC.
A extended review about the Dell T20, coming probably this week.
Note: This post is manly for people like me, who look first on google if someone running this successfully, since most time I don't want to buy certificate hardware.
UPDATE: This RAM failed me after ~10 years of more or less 24/7/365 usage. (Which is probably a good deal)
06 Jun 2014
I got some 19 inch server. The problem I don't have a rack for it. So there are two options buy for a truck load of money a rack or build one on my own. So just buying a rack sounds boring, and I don't have a truck load of money.
First step
To build your own rack you need a table from Ikea called lack. They are available in different colours and cost around 5$ -15$.
They are exactly 19" and you can stack multiple of them to a large rack.
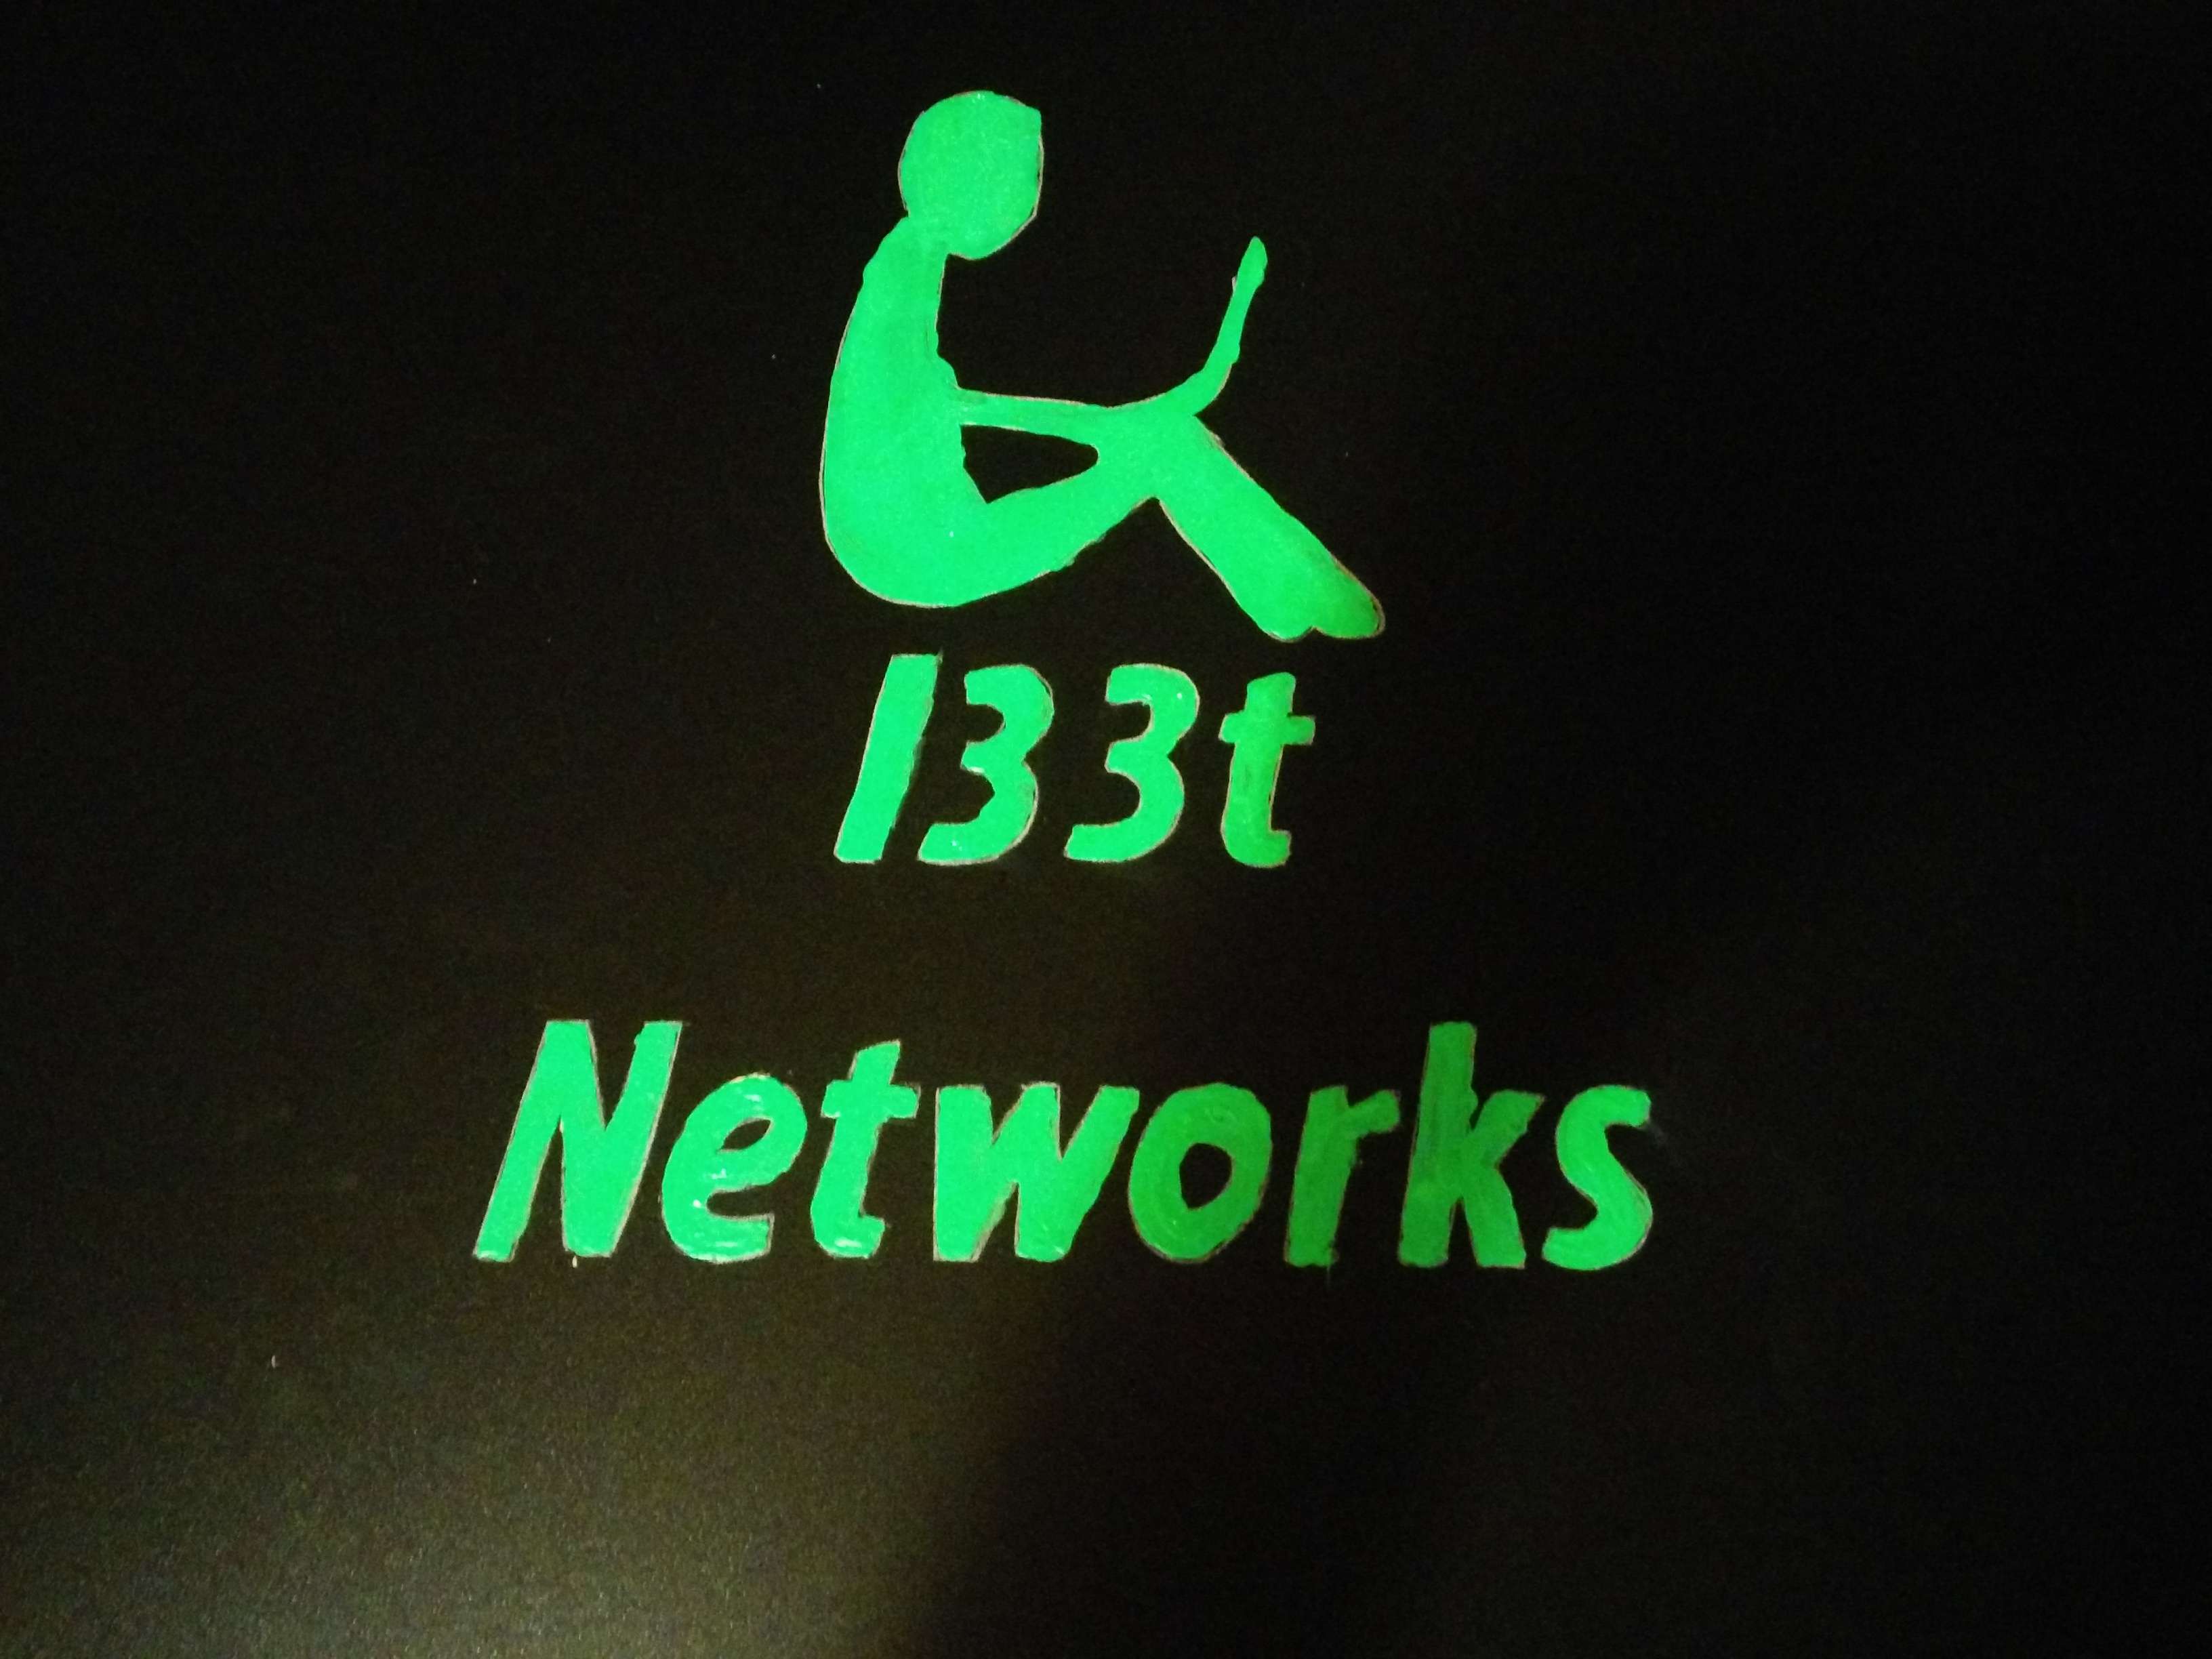
Decoration
I invest some hours, to paint on the front site a logo.


Assembly
The assembly of the table is so easy, that I think even a monkey can do it.
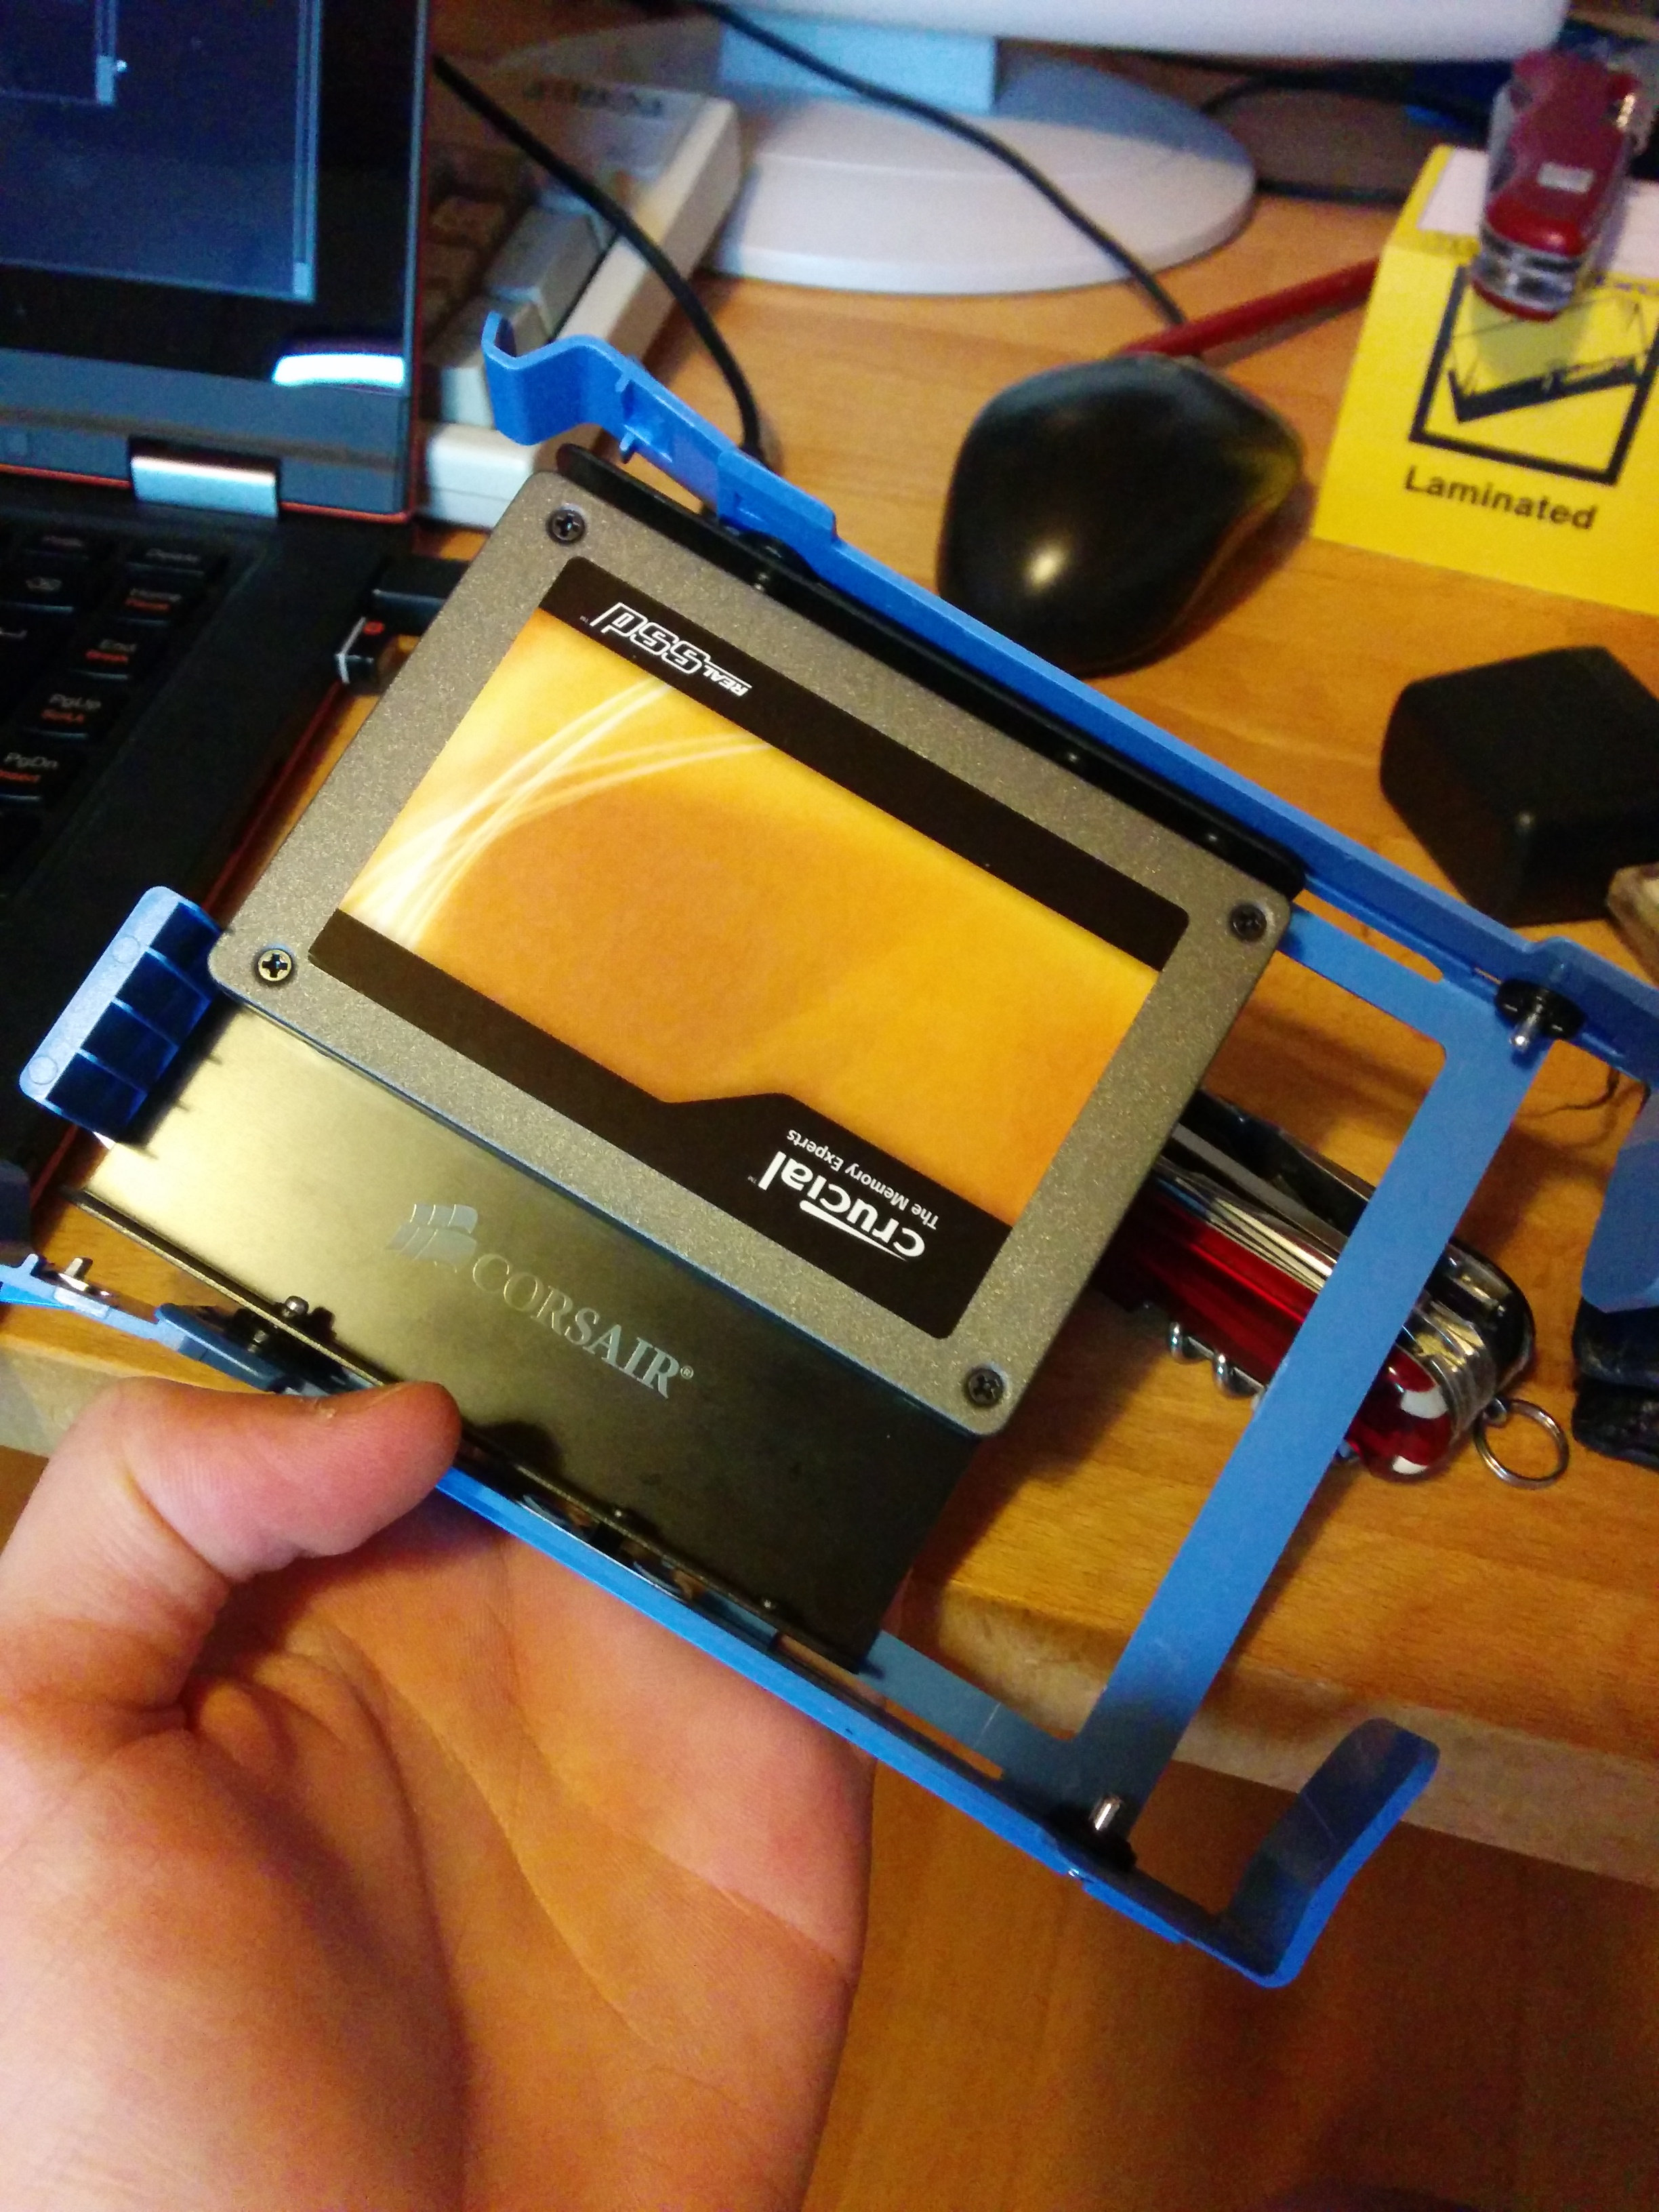
##Mount the server
My servers are kind of short, so I need to attach them from the backside a bit.


And as you can see a 19" fit perfect in a lack table.


19 Apr 2014
I connect my phone with my laptop. And surprise it doesn't work.
So I google around and based on this: mounting nexus 4 via MTP in Fedora 17 I found a solution. (at least for Fedora 20 and Nexus 5 with MTP).
Install libs:
sudo yum -y install fuse fuse-libs libmtp simple-mtpfs
Update your udev rules:
sudo vim /etc/udev/rules.d/51-nexus.rules
#LG -- Nexus 5
SUBSYSTEM=="usb", ATTR{idVendor}=="18d1", MODE="0666"
For Nexus 4 it's possible something like:
#Nexus 4
SUBSYSTEM=="usb", ATTR{idVendor}=="4ee1", MODE="0666"
Now just add aliases for it. For that add to your .bashrc these lines:
alias nexusmount="simple-mtpfs ~/your/mount/point"
alias nexusumount="fusermount -u ~/your/mount/point"
Now reboot to reload your udev rules and load the new modules.
After that just mount and unmount your device.
Update
There is a list with vendore id's http://developer.android.com/tools/device.html.
| Company USB |
Vendor ID |
| Acer |
0502 |
| ASUS |
0b05 |
| Dell |
413c |
| Foxconn |
0489 |
| Fujitsu |
04c5 |
| Fujitsu Toshiba |
04c5 |
| Garmin-Asus |
091e |
| Google |
18d1 |
| Haier |
201E |
| Hisense |
109b |
| HTC |
0bb4 |
| Huawei |
12d1 |
| Intel |
8087 |
| K-Touch |
24e3 |
| KT Tech |
2116 |
| Kyocera |
0482 |
| Lenovo |
17ef |
| LG |
1004 |
| Motorola |
22b8 |
| MTK |
0e8d |
| NEC |
0409 |
| Nook |
2080 |
| Nvidia |
0955 |
| OTGV |
2257 |
| Pantech |
10a9 |
| Pegatron |
1d4d |
| Philips |
0471 |
| PMC-Sierra |
04da |
| Qualcomm |
05c6 |
| SK Telesys |
1f53 |
| Samsung |
04e8 |
| Sharp |
04dd |
| Sony |
054c |
| Sony Ericsson |
0fce |
| Sony Mobile Communications |
0fce |
| Teleepoch |
2340 |
| Toshiba |
0930 |
| ZTE |
19d2 |