17 Sep 2015
If you follow me on twitter you probably saw that I was at BalCCon2k15.
It was fun. I really enjoy this smaller events, the larger events like the CCCongress are very cool, but sometimes just
a bit too much to handle for me. So what is BalCCon2k15? It stands for Balkan Computer Congress and is organized by LUGoNS
the Linux Users Group of Novi Sad. This year was the 3th edition and everything was well planed and organized. Meaning the
WLAN worked fine, even if it was a bit slower than normally on such events. But hey you don't need much WLAN to socialize.
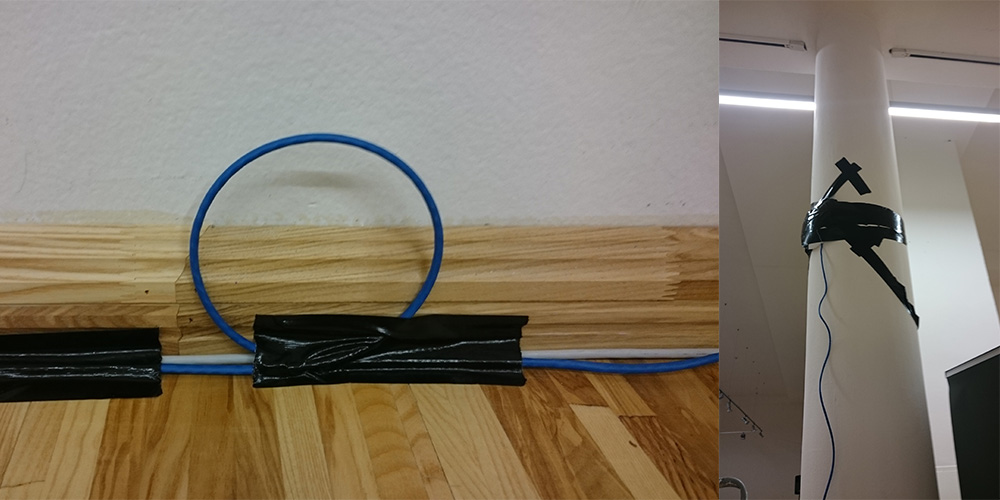
On the first day I helped to deploy WLAN AP. As you can see we did this like professionals! Also there was a loop for bits.
The location was a museum of some sort and it was perfect. Enough space, but not to much that you think it's empty.
And they had a painted tank. I mean how cool is that.

I can't say much about the talks. Because I only attended three or four.
If you planning on building your own backbone you should watch "lecture: how you could build a backbone".
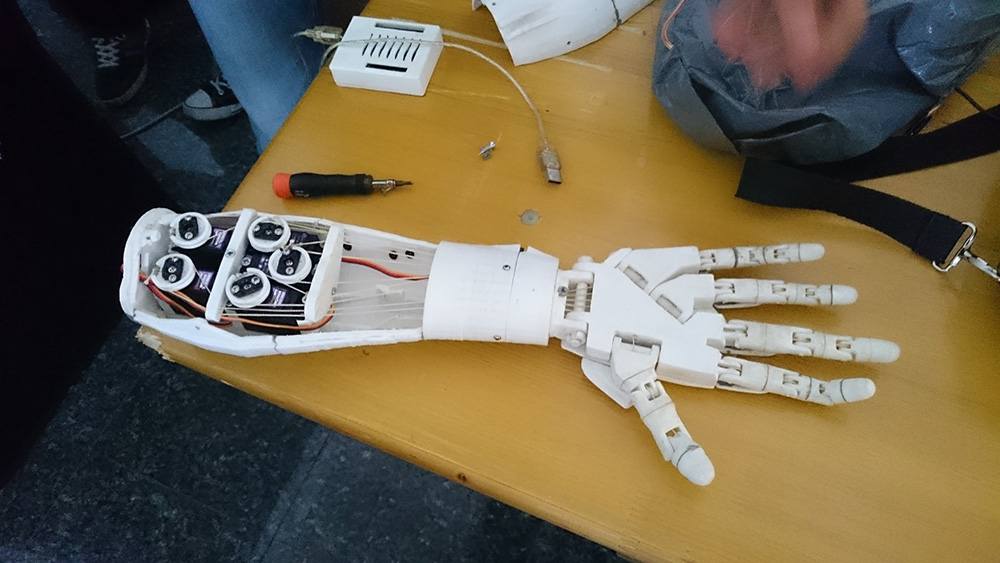
And then there was that one talk which was very impressive,
it was about "Touchless Control in Our World".
It was held by Onuralp SEZER.
He showed a 3D printed arm which can be controlled by Myo.
I don't think there will be a recording for that, so here is just an image of it.
(And if Onuralp SEZER writes about it I will include here a link
to the project)
Oh and the food was absolutely amazing.

Some images are made by @4x01071, thanks!
12 Sep 2015
I'm not at vBSDcon but I'm at
BalCCon2k15 which is a small conference in serbia (and very cool).
So while I was scrolling through my RSS feeds I saw that FreeBSD 10.2 is released. As usual I rush things which means I didn't made a backup of
my droplet. Kids always do a backup beforehand, if you do things like a kernel update. Not exactly sure why but I heard it helps a lot if you fuck up. And yeah I fuck up a lot. Anyway what happened was I ran
freebsd-update fetch install
freebsd-update -r 10.2
freebsd-update install
reboot
And after the reboot nothing. Cool, at least DigitalOcean has a HTML5 VNC. Of course this doesn't work with Firefox.
And it's very buggy. But it's enough to figure out whats happening. And I needed to configure my local keyboard to U.S English
to type characters like / (still no idea why). At this point I was able to access my droplet over VNC where I didn't had Internet. I found out that
a Interface without a IP address does basically nothing. Long story short you need to configure the Interface yourself. Still not
exactly sure why I didn't need to do it after the first setup. Anyway adding the interface configuration to my rc.config restart
my networking and routing and how would suspected that my droplet is back online.
What I'm trying to tell you dear reader, do proper backups beforehand.
06 Sep 2015
I heard all the cool kids program with this thing called elixir and phoenix.
And as we all know I'm trying hard to be a cool kid (not really successful). But this is a
topic for an other blog post. So here is a small guide how you get started with phoenix on Fedora.
Install packages
The first step is installing elixir and postgresql which is the default
database back end for phoenix. And then there are other packages needed
like npm to use all these weird js front end tool which are to some extend
integrate in phoenix.
sudo dnf install erlang elixir postgresql-server npm inotify-tools
Prepare psql and enable it
Now we can setup our postgresql server.
sudo postgresql-setup initdb
After the basic setup, we need to edit the pg_hba.conf file
which you should find now in /var/lib/pgsql/data/.
So we need to change ident to md5 on the line where the ADDRESS is 127.0.0.1/32 in /var/lib/pgsql/data/pg_hba.conf.
# TYPE    DATABASE        USER            ADDRESS                 METHOD
  host    all             all             127.0.0.1/32            md5
After we change the config file we can enable the service at start up and start it.
sudo systemctl enable postgresql
sudo service postgresql start
Set a password for the postgres user. Please remember the password you set, you need it later.
sudo su - postgres
$ psql
postgres=# \password postgres
postgres=# \q
Phoenix
With all this things in place we can install the elixir package manager and phoenix.
Hint: You should check if there is a newer version than 1.0.1!
mix local.hex
mix archive.install https://github.com/phoenixframework/phoenix/releases/download/v1.0.1/phoenix_new-1.0.1.ez
Create a new project is easy.
mix phoenix.new $APPNAME
cd $APPNAME
Now you need your psql user and the password you set and configure it in config/dev.exs.
Installing all the dependencies and create the database.
mix deps.get
mix ecto.create
Start the server
Happy coding!
29 Jul 2015
If you feel the need to put ubuntu on your FreeBSD server,
here is a guide.
It's really simple, the first step is to take ubuntu
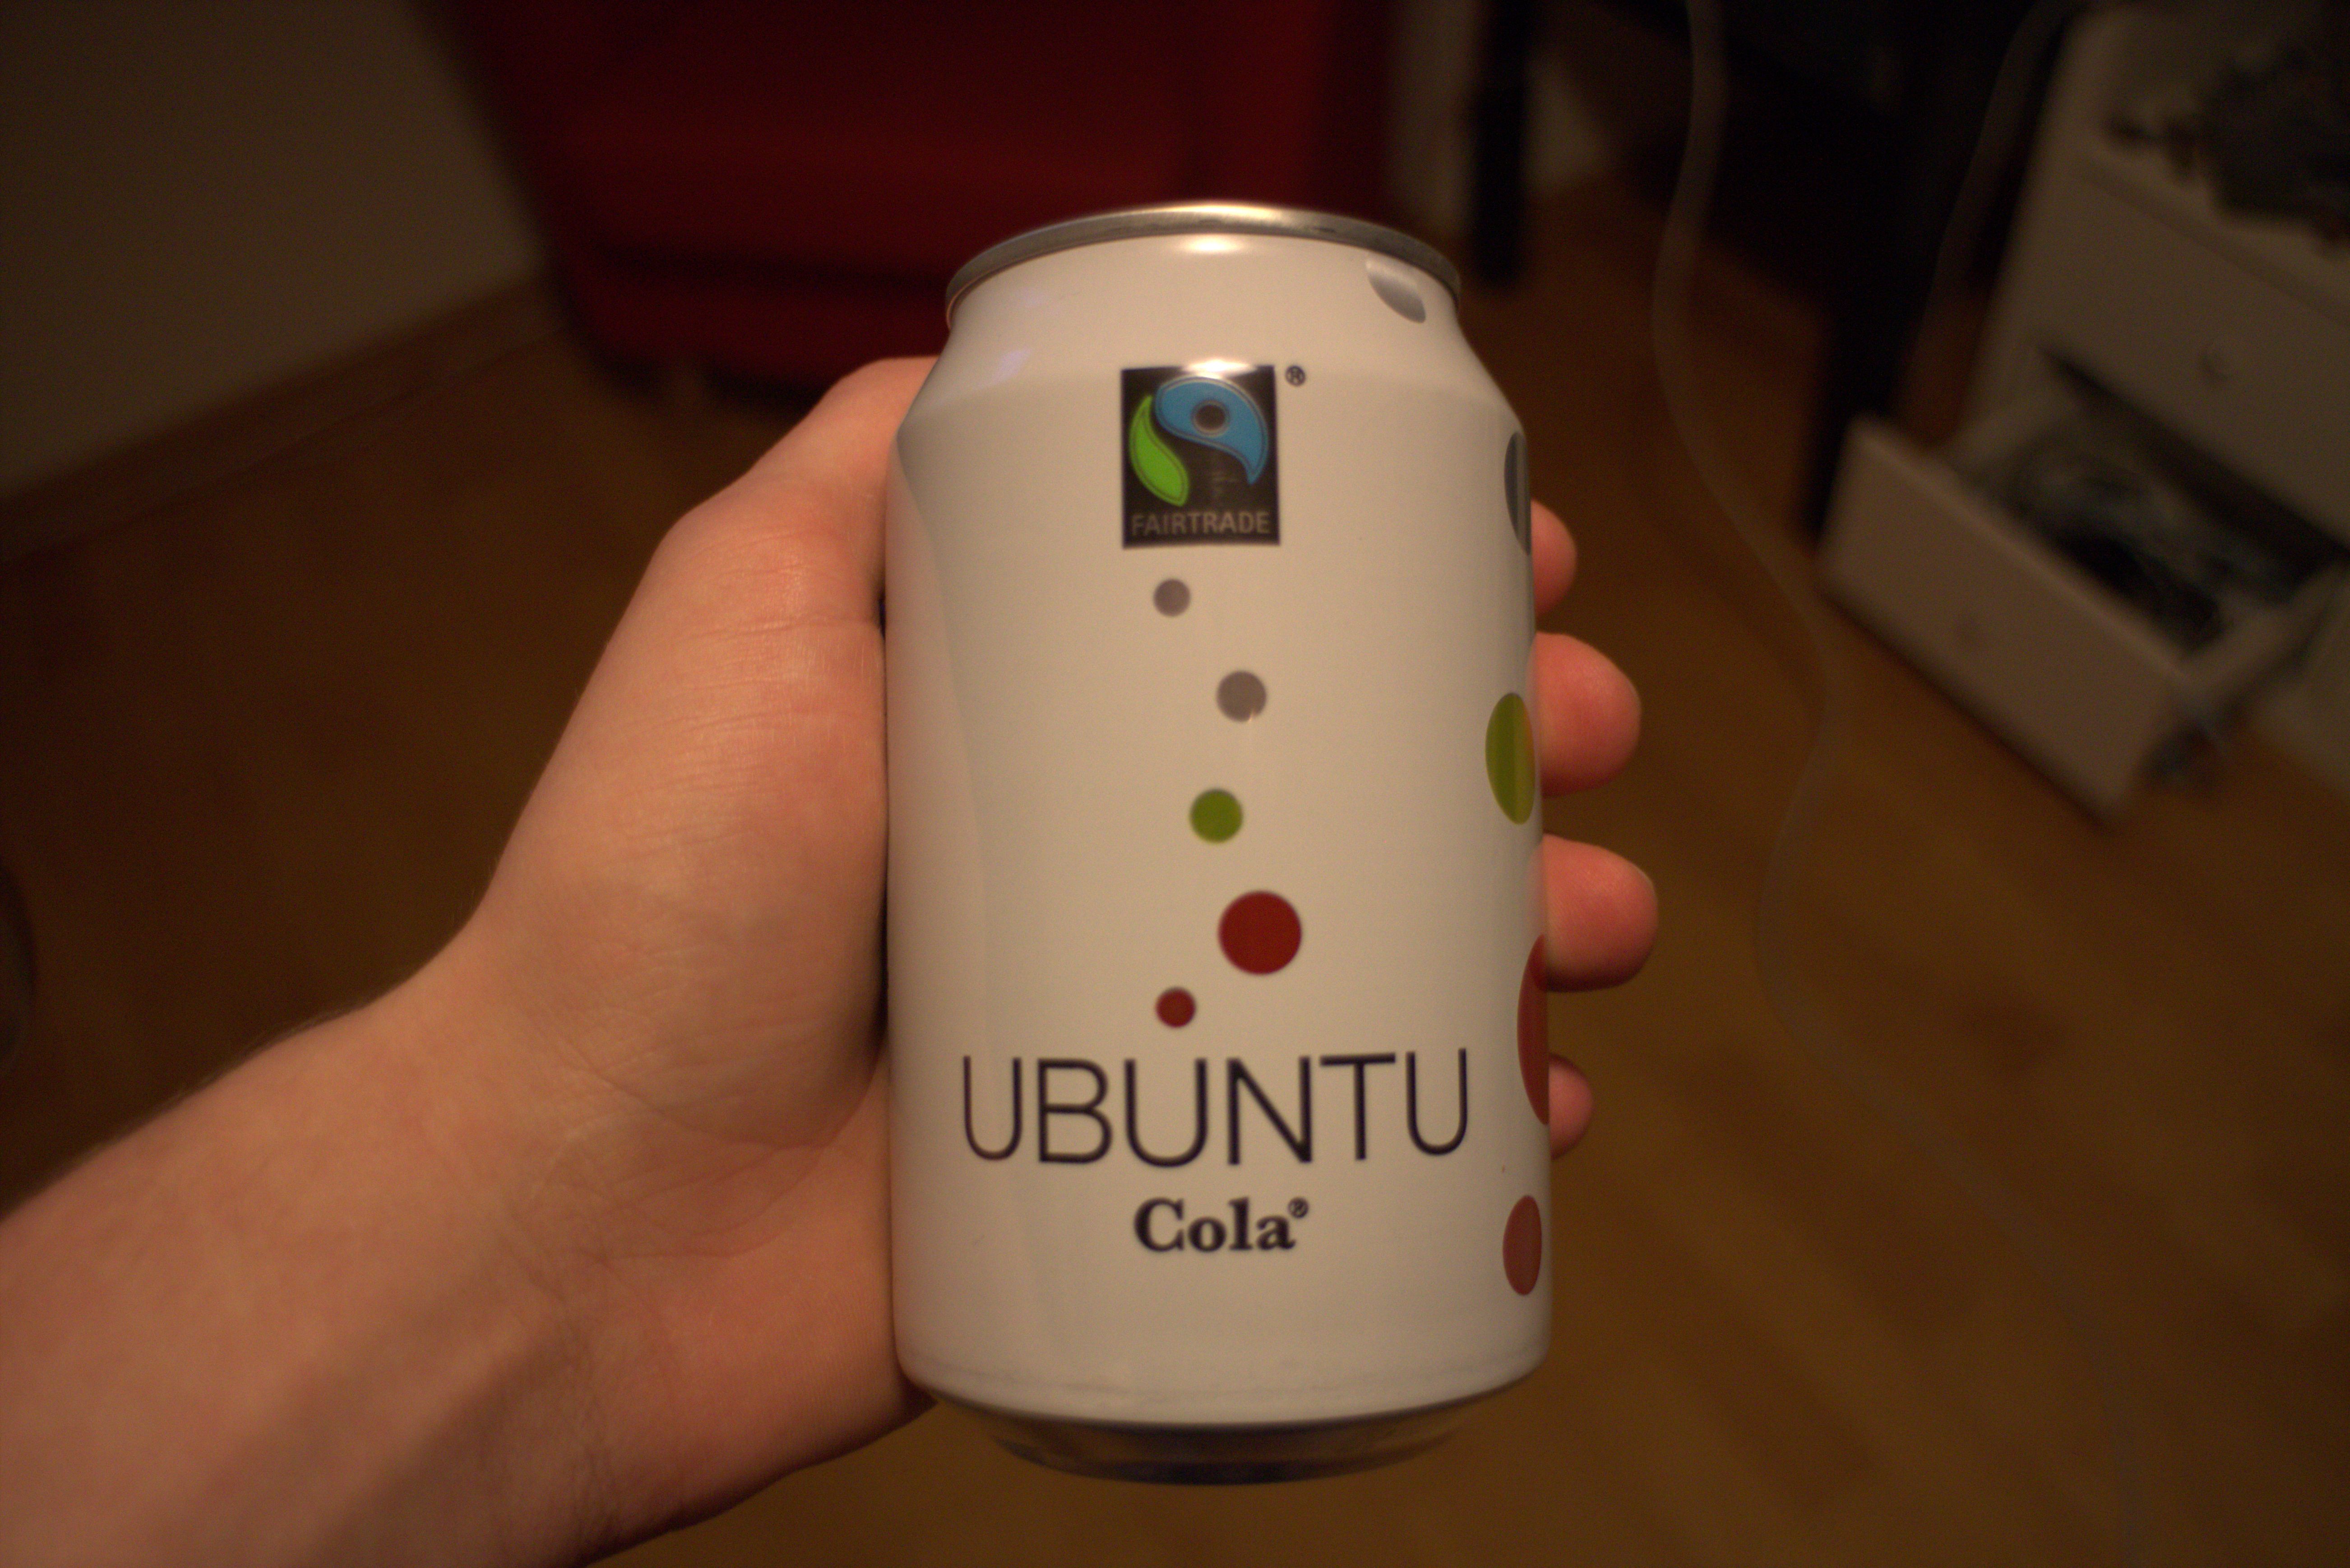
Step two put it on your server (for example my FreeBSD server)
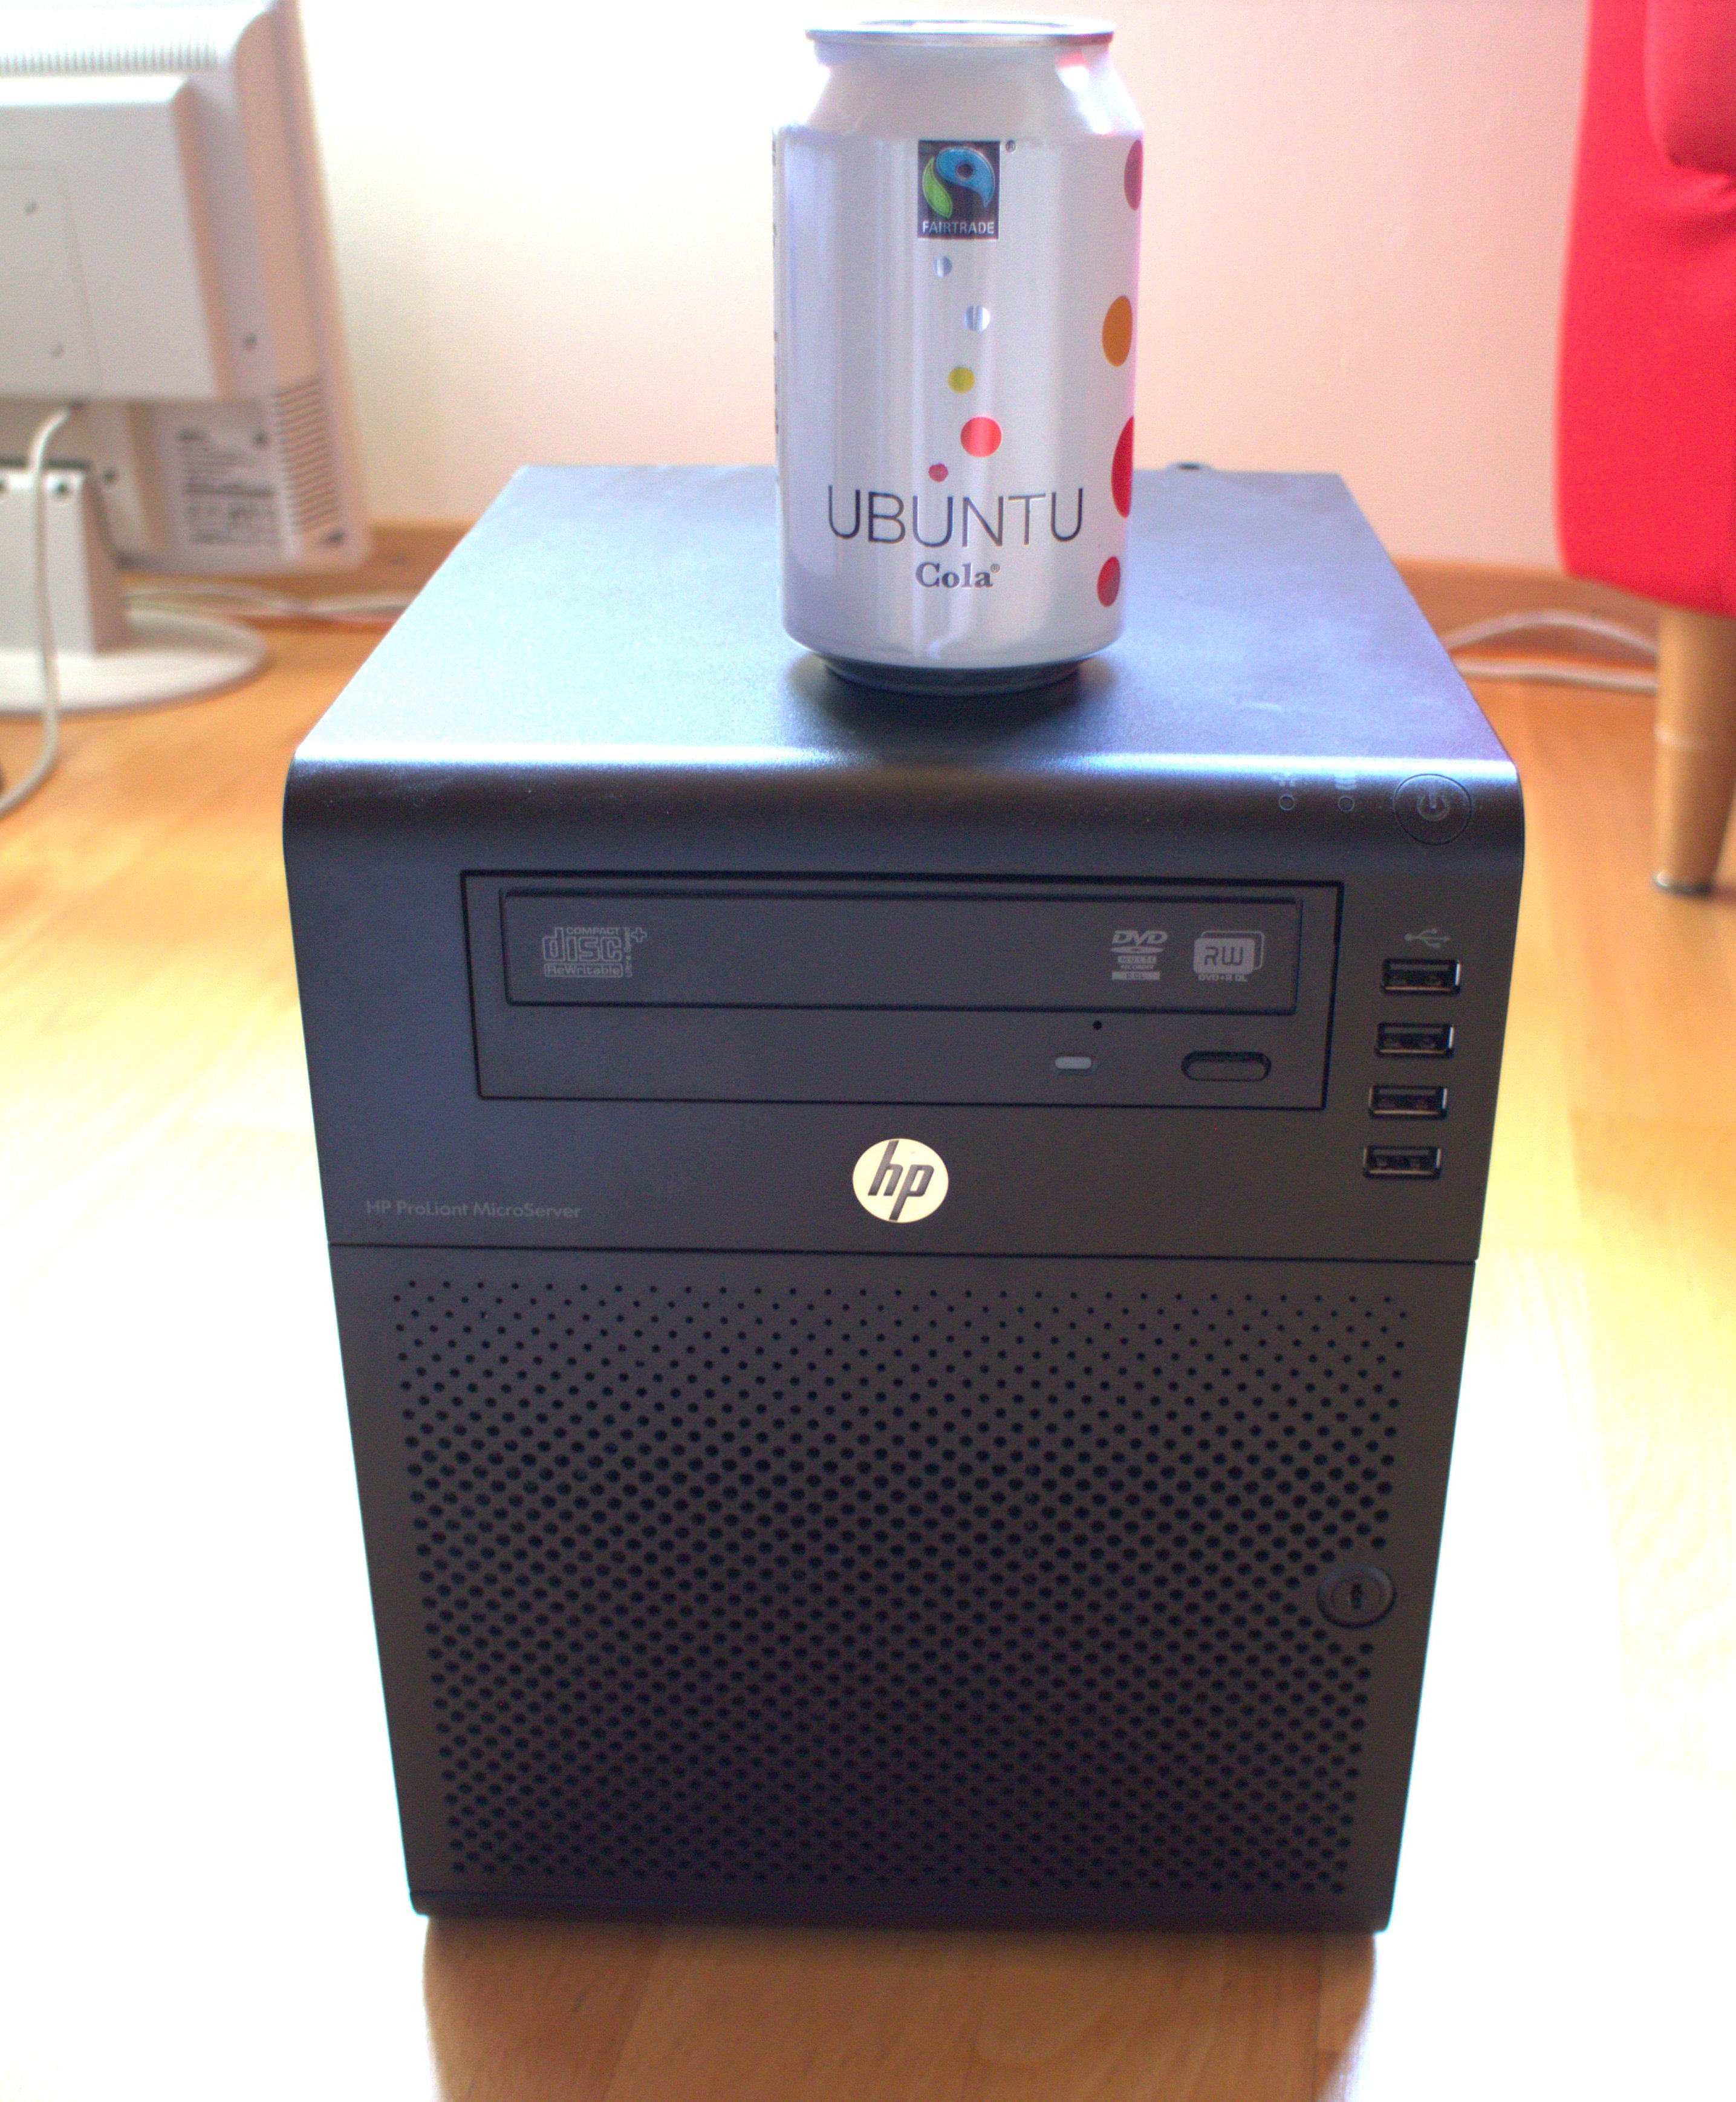
Works also on Apple hardware
26 Jul 2015
The simplest way to check if everything work as expected, is to configure
one of your new mail accounts in your mail client and send a mail to the
test service of http://www.mail-tester.com/.
If something not working there is a good chance that you find a hint in your
mail log which you find there -> /var/log/mail.
I used also http://mxtoolbox.com/ which has a few nice
tools to check your DNS setup and SMTP.
Many useful things are stolen and copied from these articles:
Special Thanks to
This is not a part of the three part series: