Perforated Mounting Plate
27 Aug 2022I planned to write this blog posts ~2 years ago. But for some reason I never did. It is about how I mounted my router (see: hEX S The Good The Bad The Ugly), and my primary and secondary Raspberry Pi running DNS (see: DNS Server on NetBSD and DNS Server on Debian).
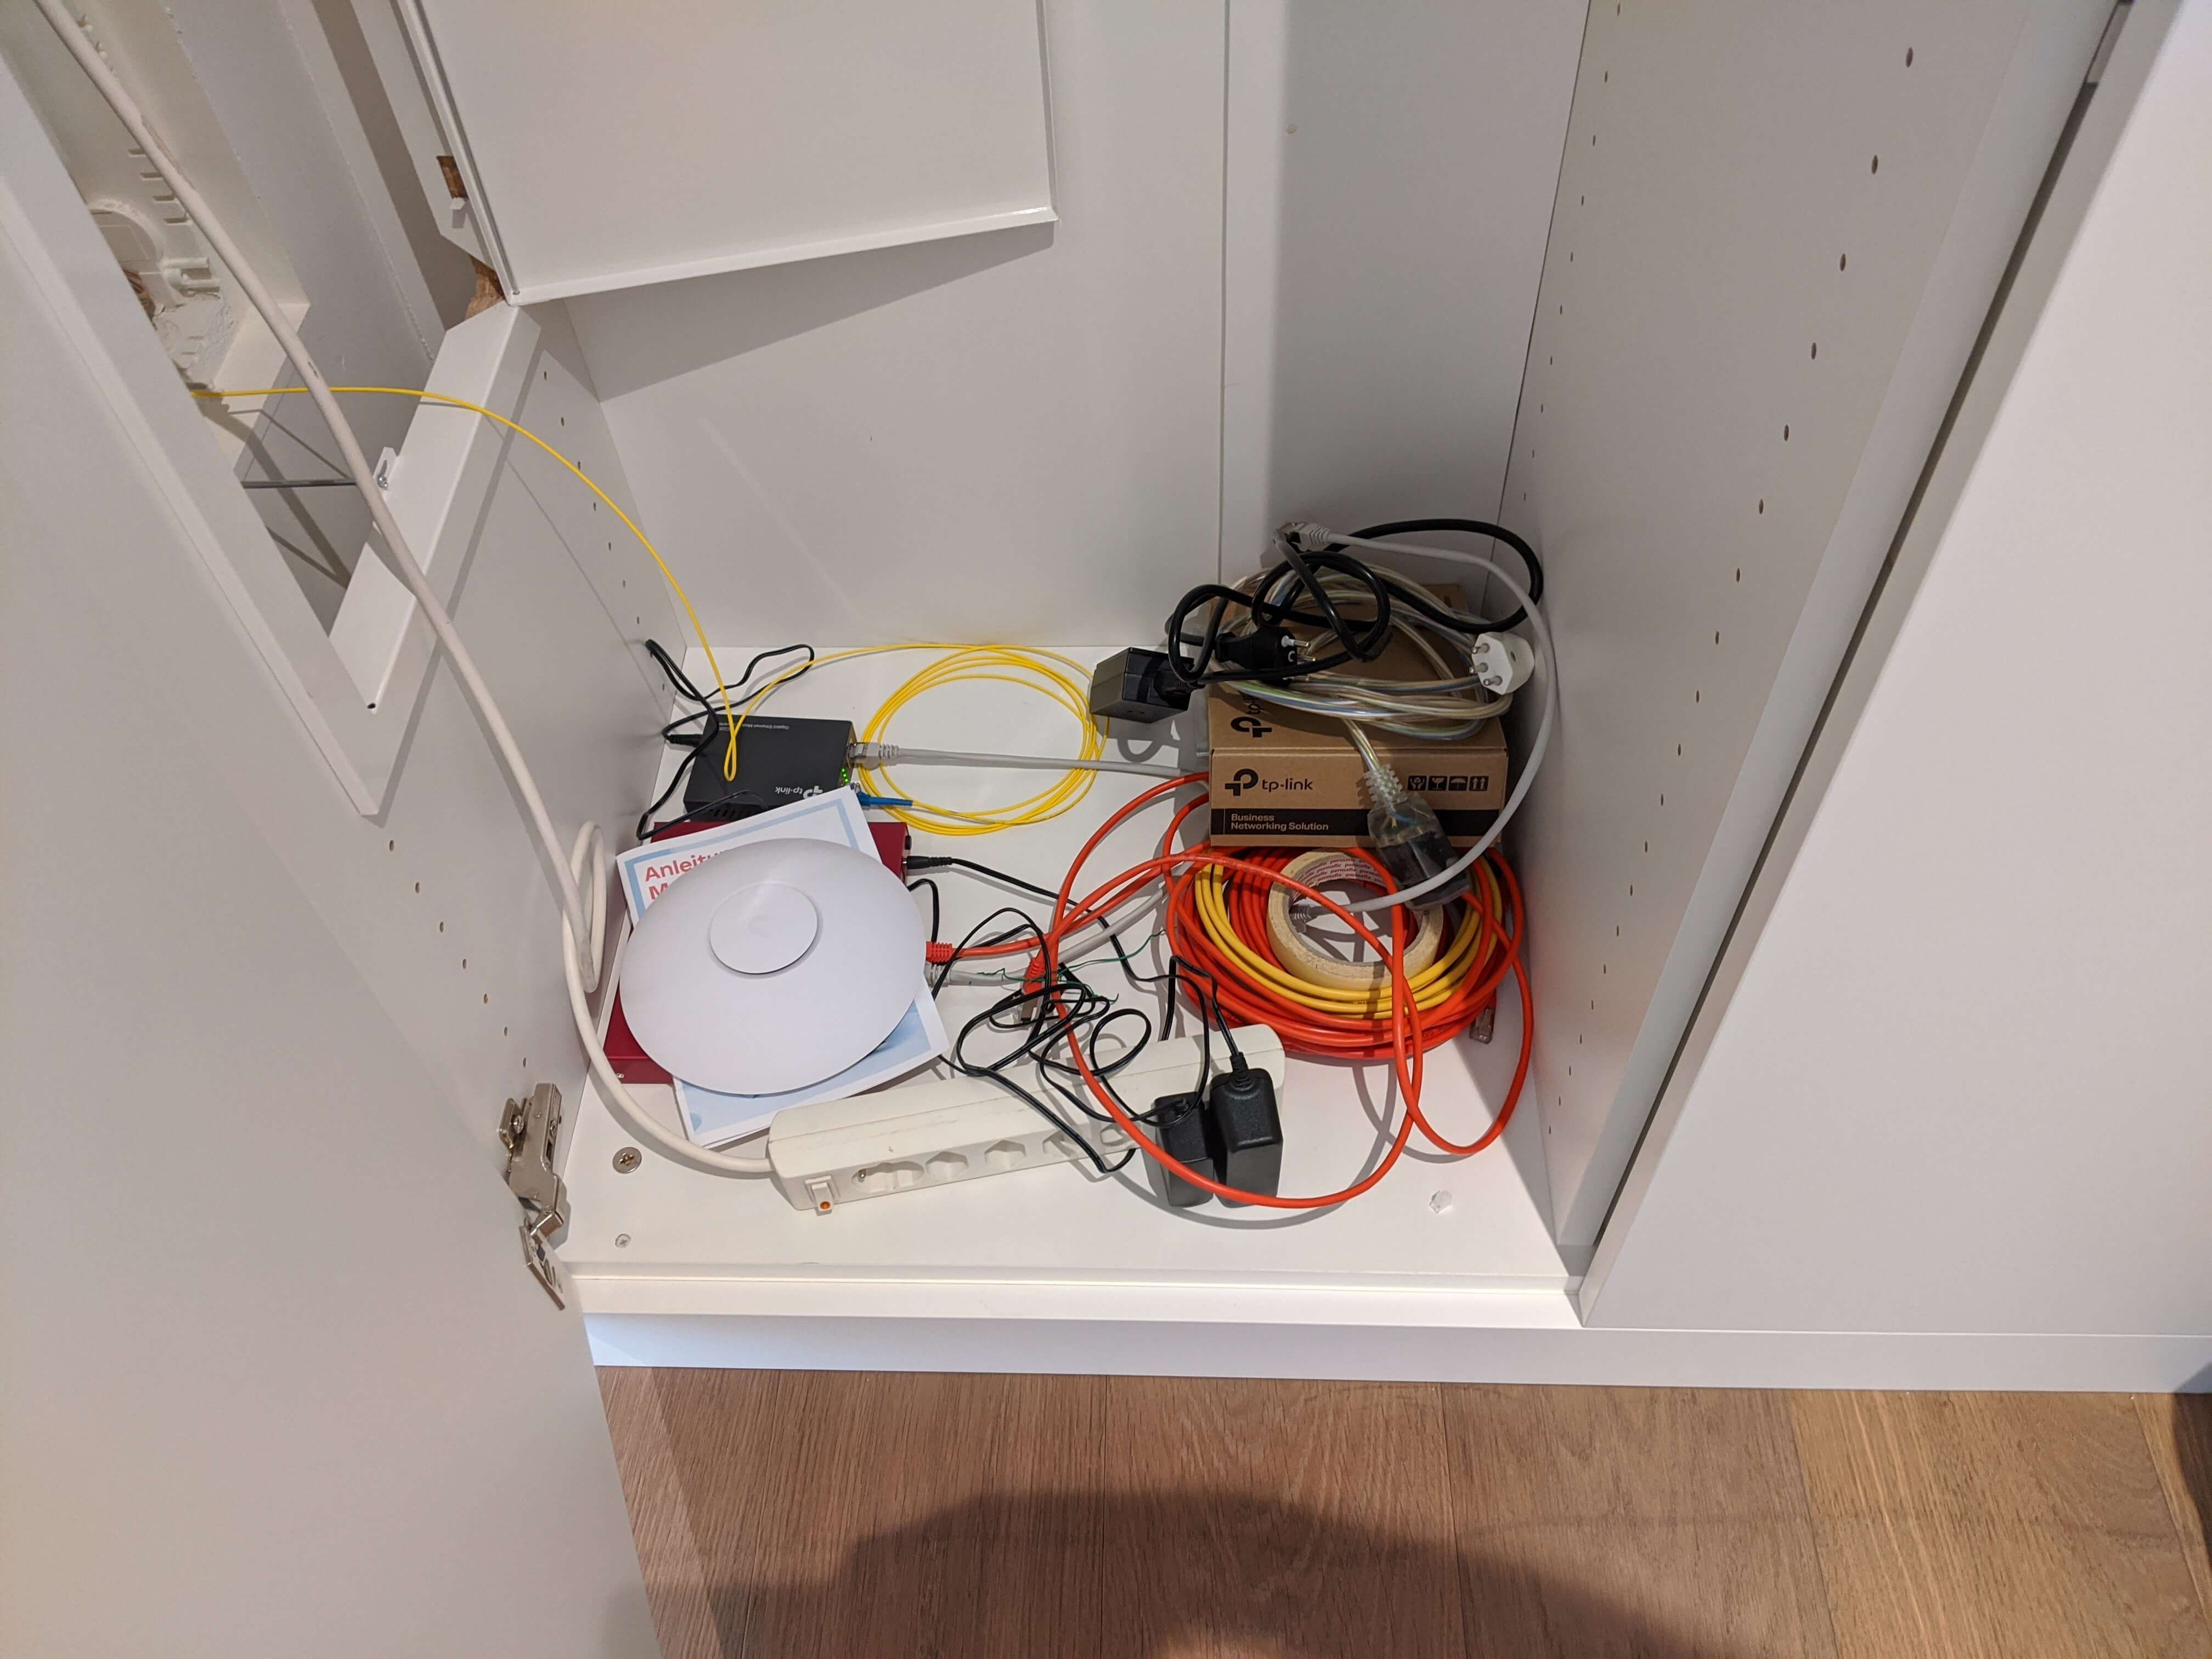
Iteration 1
As you can see the first iteration of this setup was just to dump all the devices on the ground and get them running. This was even before I switched to the hEX S router.
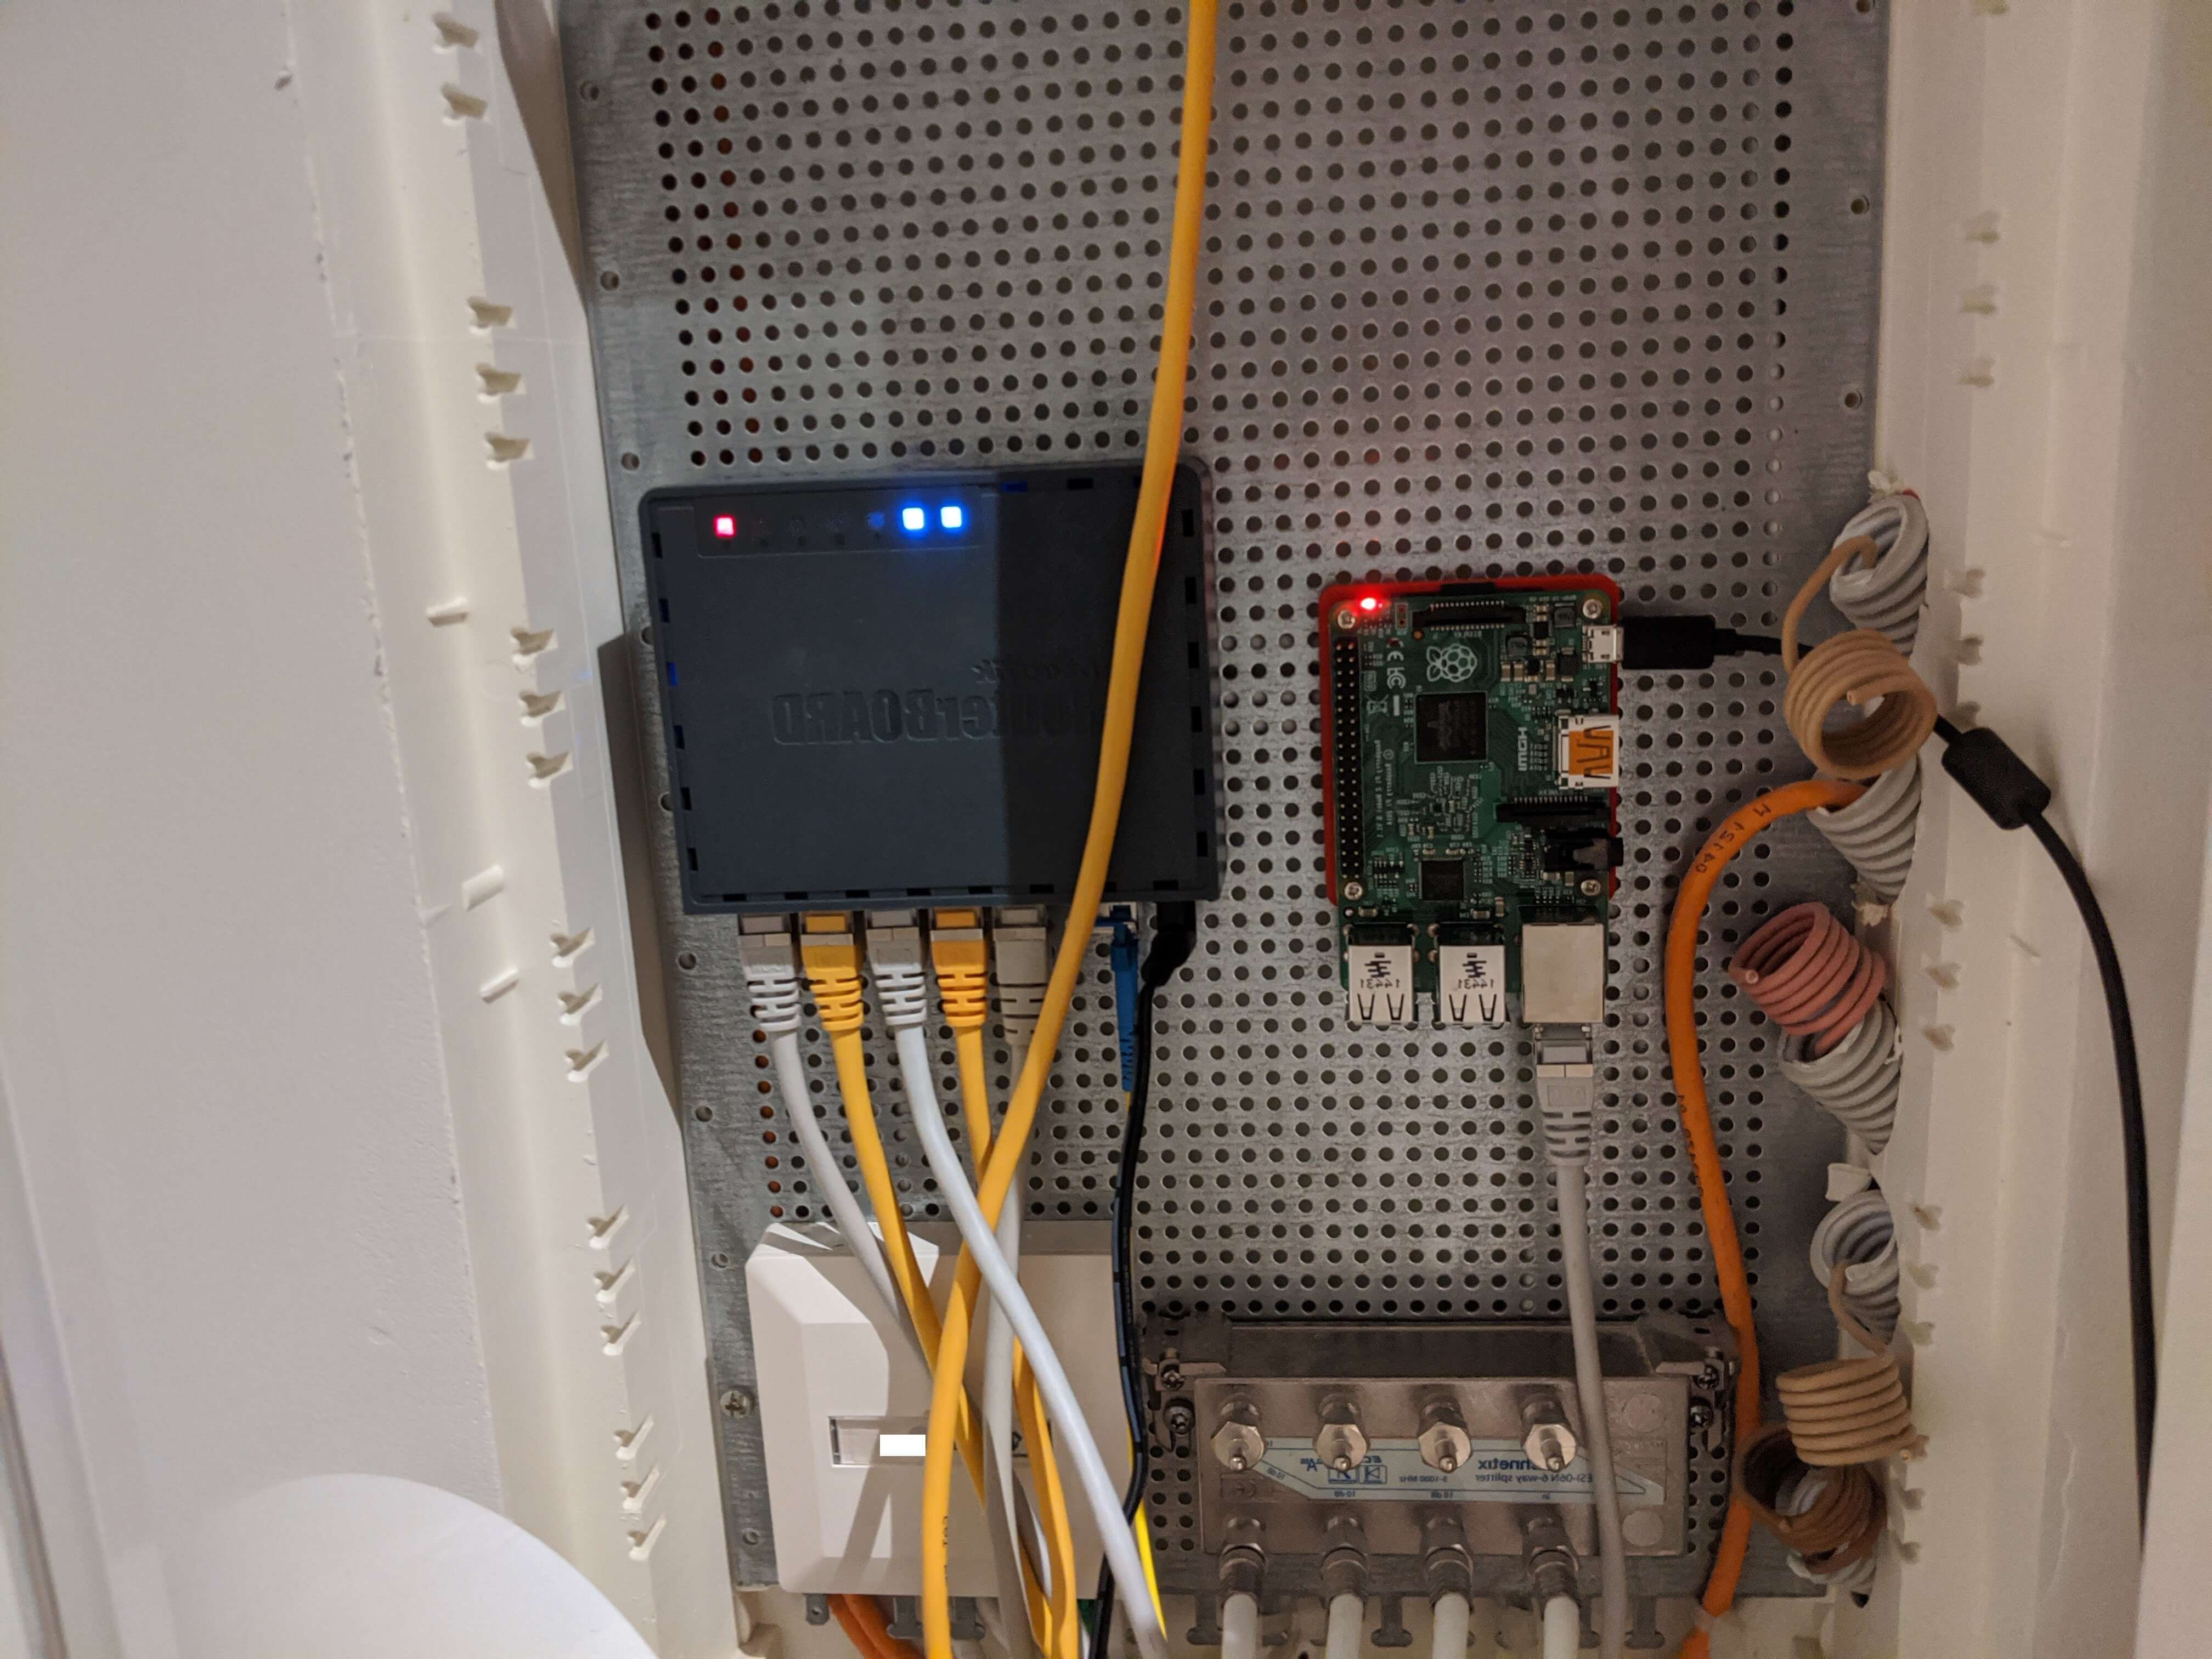
Iteration 2
The next step was to figure out how to mount my devices to the perforated mounting plate (Montageblech, gelocht, verzinkt). For the hEX S this was simple, as Mikrotik (the manufacturer of the devices) states:
This device is designed for use indoors by placing it on the flat surface or mounting on the wall, mounting points are located on the bottom side of the device, screws are not included in the package. Screws with size 4x25 mm fit nicely.
But what about the Raspberry Pi? Let's 3D print something I found a great Raspberry Pi Wall Mount where I adapted the mount to fit the distance between the two screw holes.
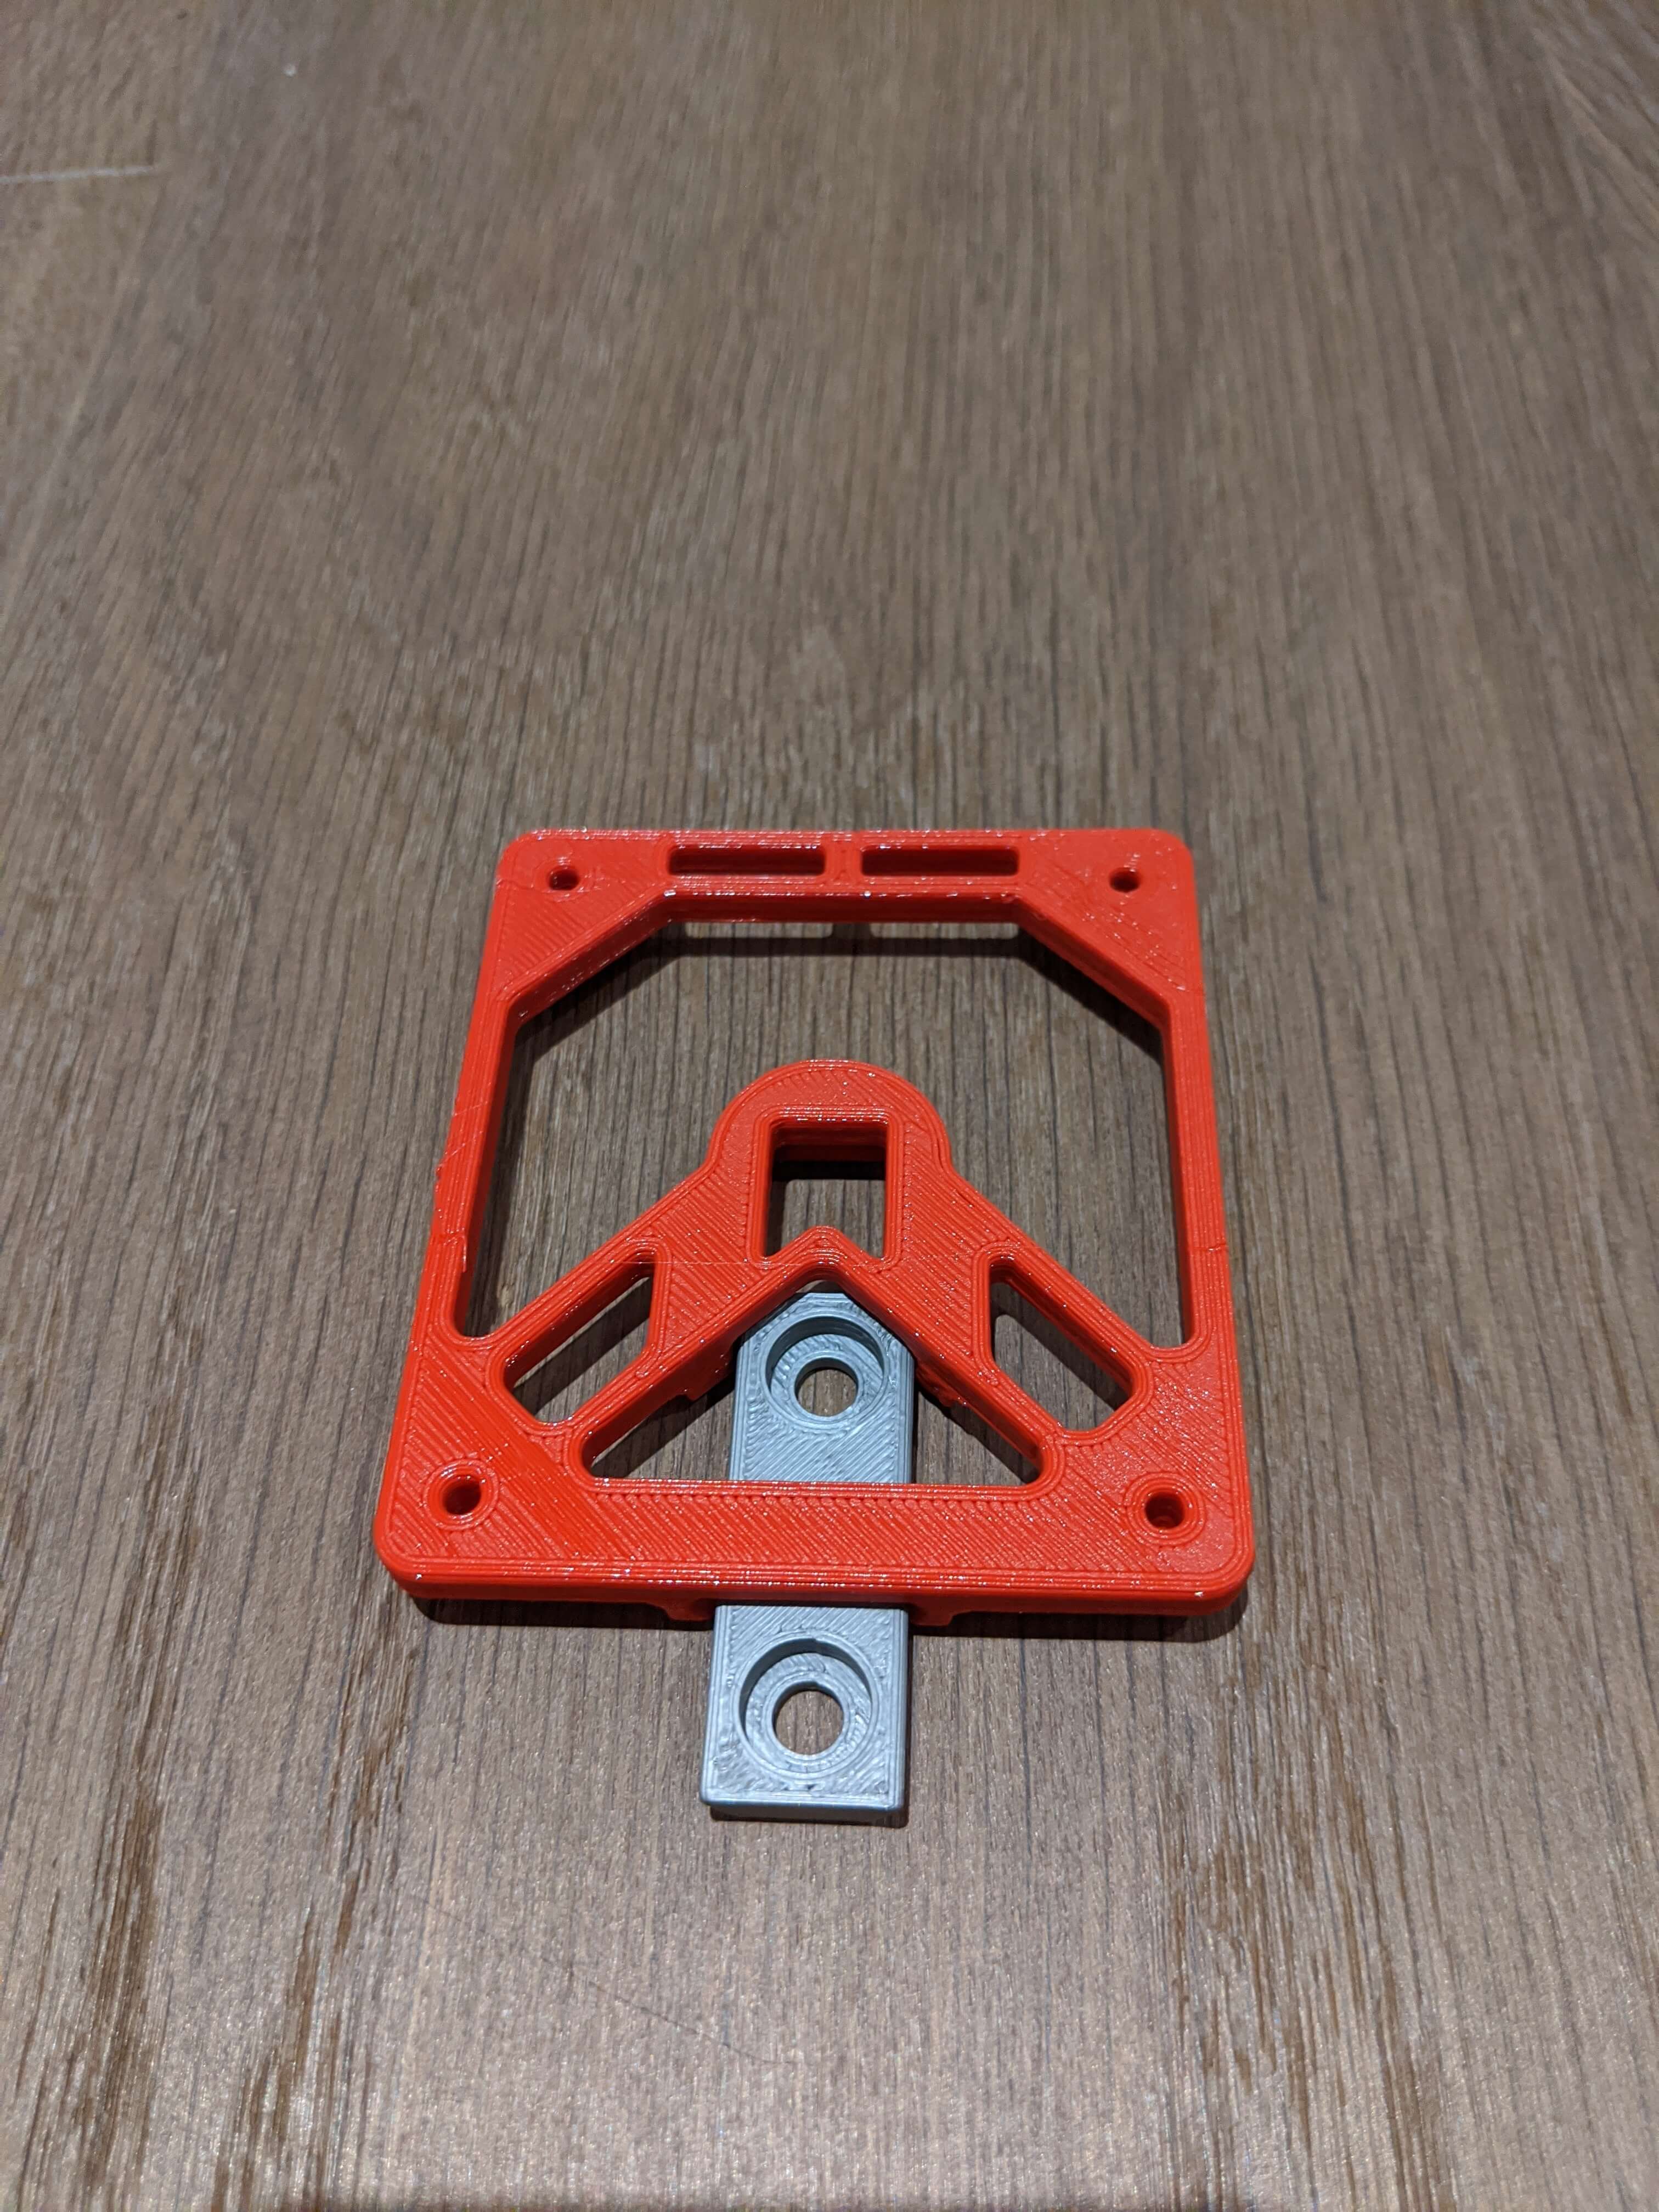
I googeled that the correct screws are Blechschrauben 4.2x9.5mm. Since you can not buy just a handful of these I own now a 100 of them. (If you know me, and need these screws for something let me know) For some reason they are awful to work with or I was holding it wrong. They don't work to mount the router because the screw head does not fit the hEX S mounting on the back. And I could not really screw them into the plate. I ended up just using random screws I had from things to make it happen. Which brings us to the next iteration:
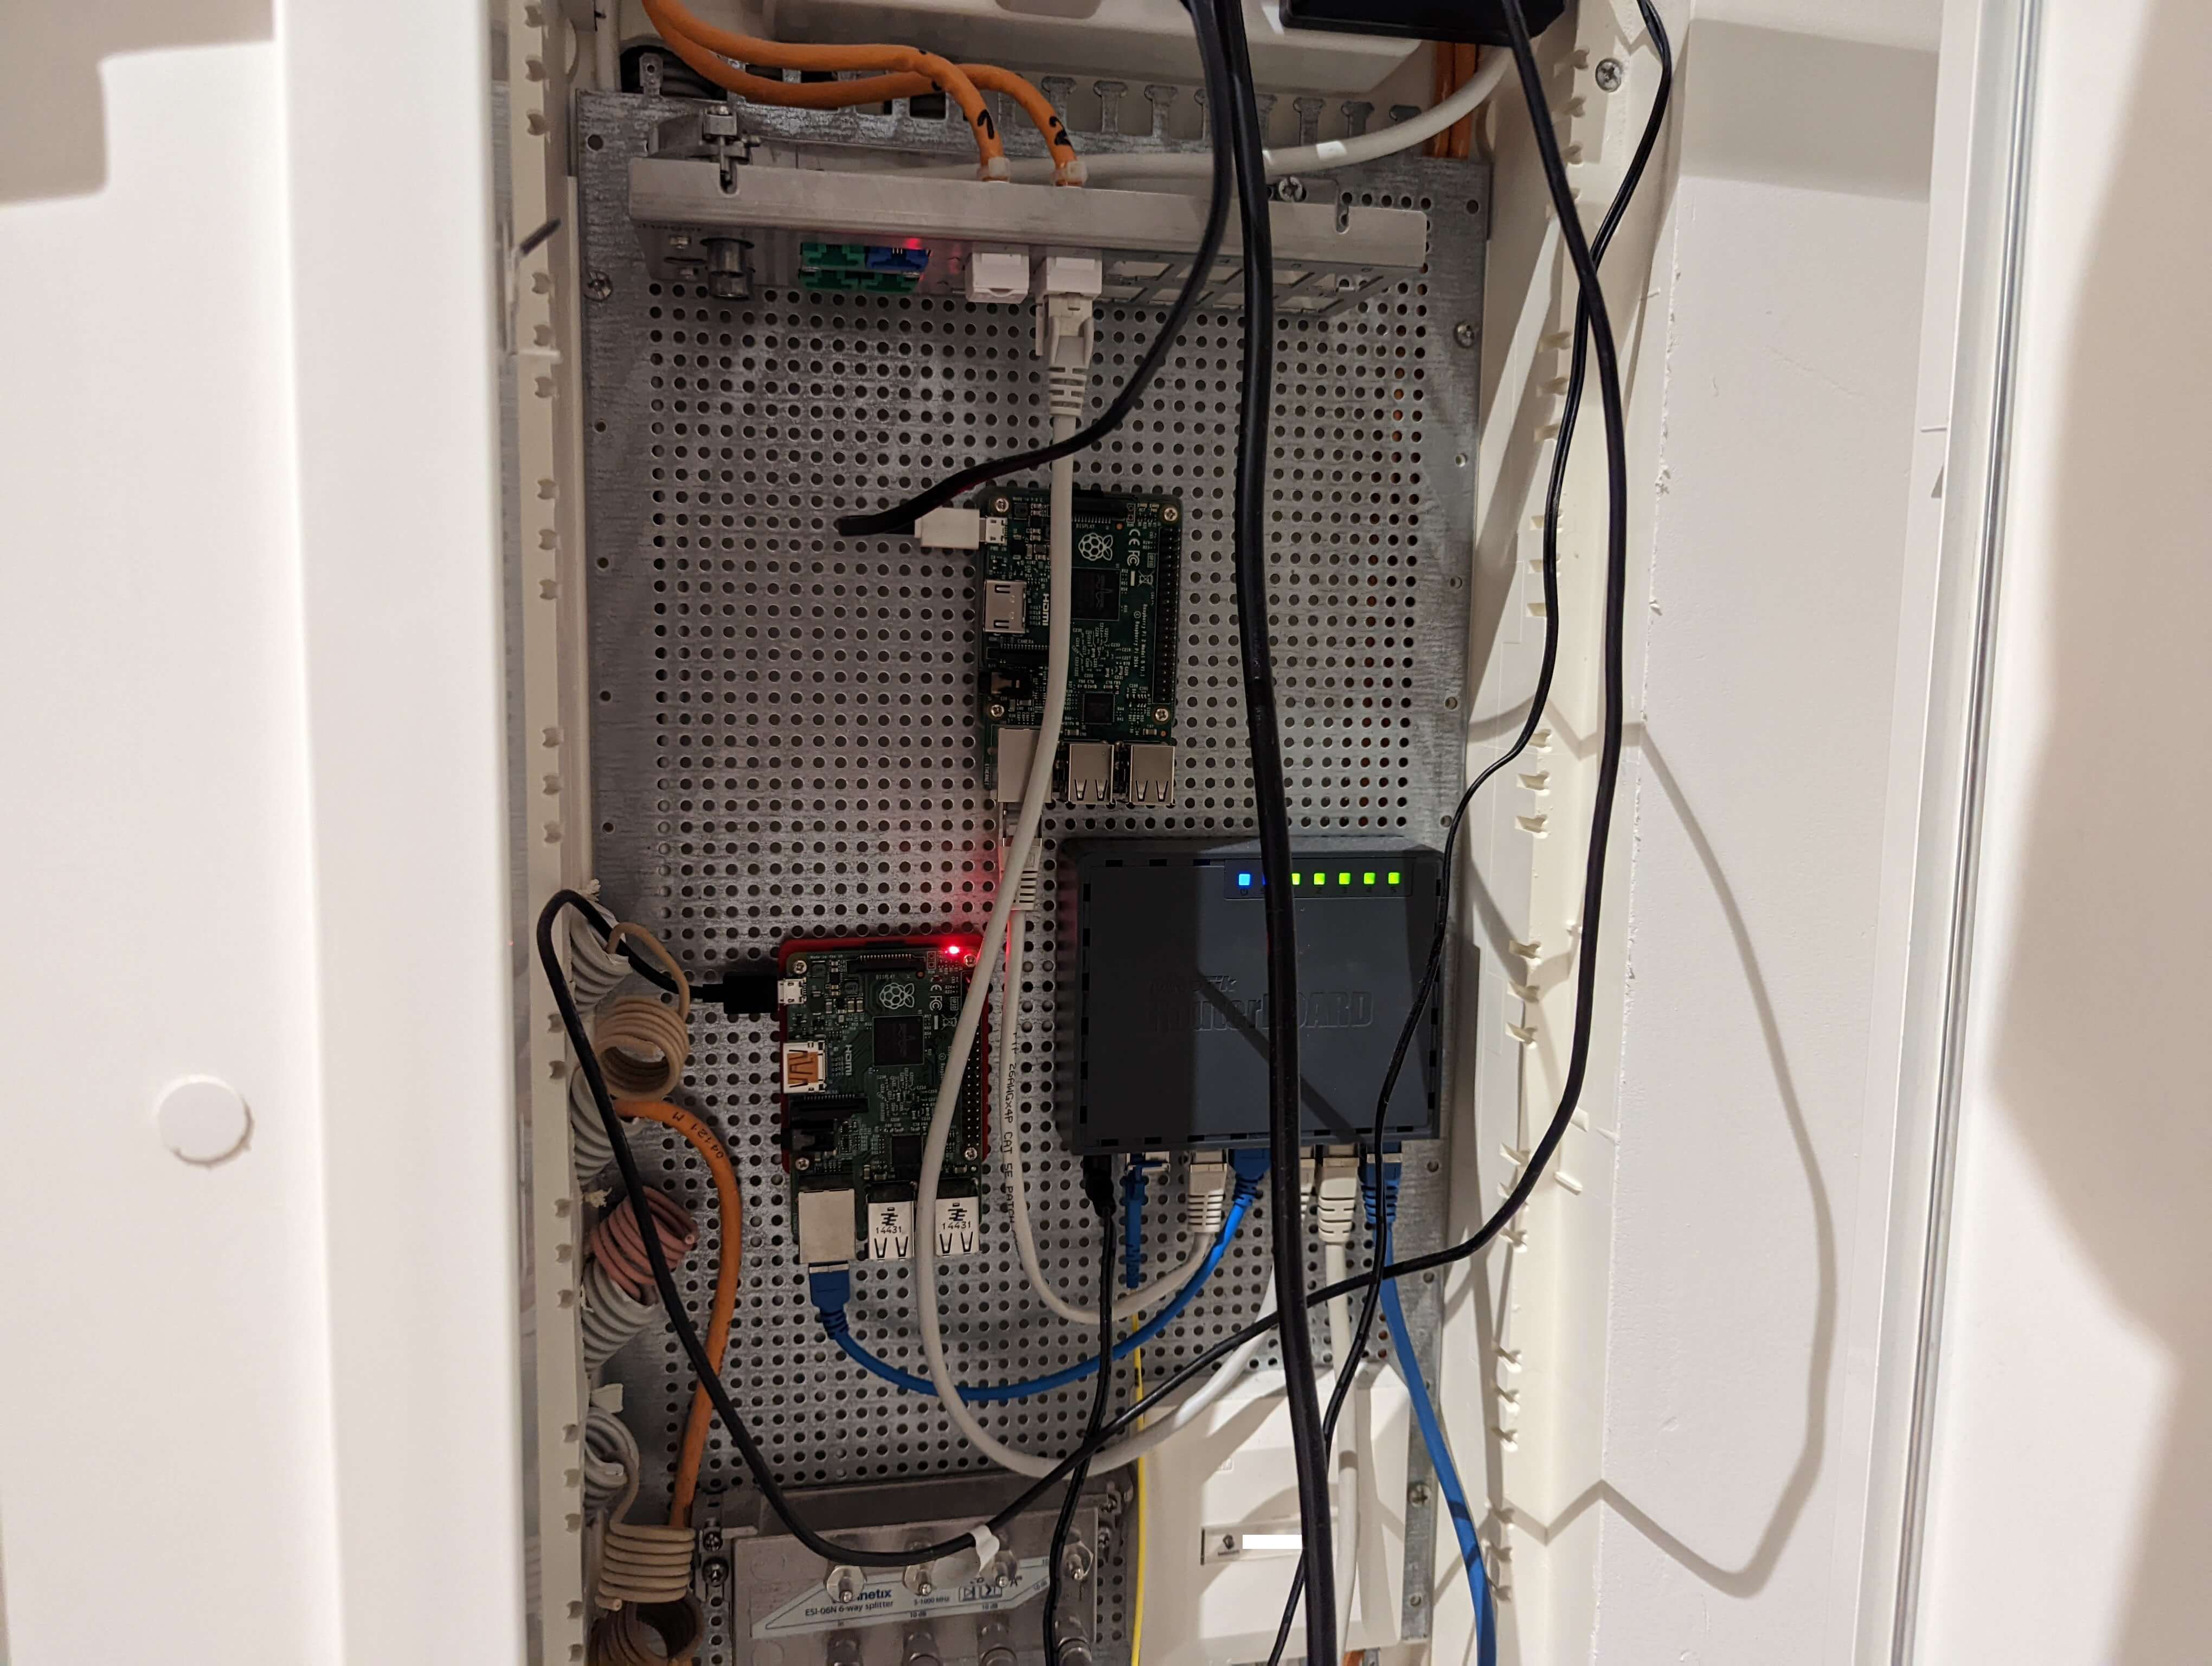
Iteration 3
And since then I improved the cable management a bit and also mounted the second Raspberry Pi. Which gives us the current state: